Growing Your Own Food in NZ: Beginner's Guide
Imagine plucking fresh lettuce from your backyard for tonight's salad or harvesting tomatoes still warm from the sun – that's the simple joy of growing your own food in New Zealand. With our unique cl...
The Lifetimes NZ editorial team curates, fact-checks, and updates guides on personal finance, property, health, immigration, legal, business, and lifestyle topics relevant to Lifetimes NZ readers. Articles are produced with AI assistance and reviewed by the editorial team before publication.
Imagine plucking fresh lettuce from your backyard for tonight's salad or harvesting tomatoes still warm from the sun – that's the simple joy of growing your own food in New Zealand. With our unique climate zones from frosty Southland to subtropical Northland, Kiwis are perfectly placed to enjoy homegrown produce year-round, saving money and eating healthier while connecting with nature.
Whether you've got a spacious section in Auckland or a tiny balcony in Christchurch, this beginner's guide equips you with practical steps to start growing your own food in NZ. We'll cover what thrives here, seasonal planting calendars tailored to our regions, small-space hacks, and essential tips for success in 2026.
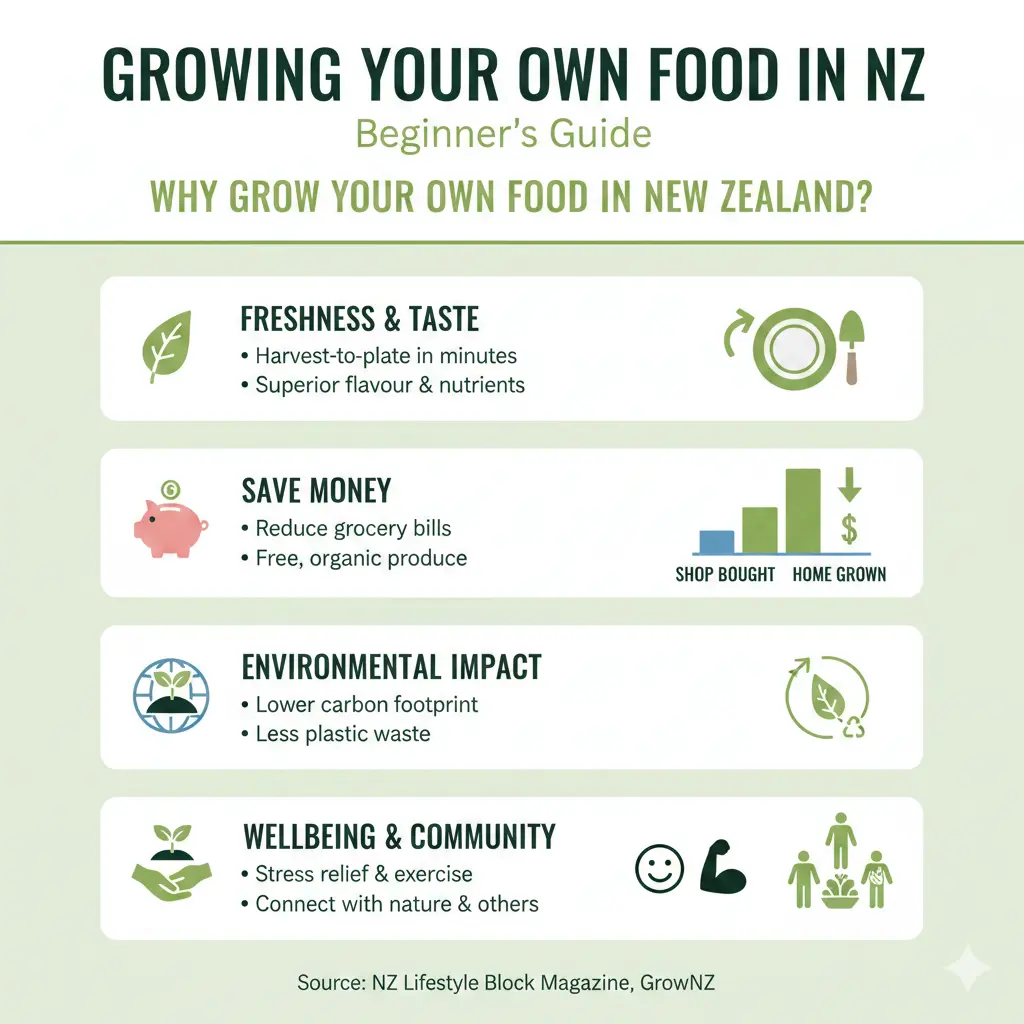
Why Grow Your Own Food in New Zealand?
Home gardening isn't just a trend – it's a smart move for Kiwis facing rising grocery prices and a desire for fresher, pesticide-free kai. In 2026, with food costs up, growing your own can cut your vege bill by 20-50% depending on your setup, while boosting mental health through time outdoors.
Our temperate climate means multiple growing seasons, and many crops like silverbeet and kale tolerate our variable weather. Plus, it's great for kids – teaching sustainability and providing Vitamin D-rich activities amid our busy lives.
Understanding New Zealand's Climate Zones for Planting
New Zealand spans three main climate zones: Northern (warm, humid), Central (mild, windy), and Southern (cooler, frost-prone). Check your local council's frost dates or use apps like NIWA's climate tools to pinpoint yours.
Regional Differences
- Northland/Auckland: Subtropical vibes – plant tropicals like kūmara year-round.
- Wellington/Hawke's Bay: Windy but fertile; focus on hardy greens.
- Canterbury/Otago: Cold winters; use cloches for protection.
Tailor your garden to these zones for bumper crops. For precise advice, refer to month-by-month guides adjusted for regions.
Best Crops for Beginners in NZ
Start with forgiving, fast-growing veggies that suit our soils and seasons. These beginner-friendly picks yield quick results and tolerate newbie mistakes.
| Crop | Best Season | Zone Suitability | Harvest Time |
|---|---|---|---|
| Lettuce (loose-leaf) | All year | All zones | 4-6 weeks |
| Radish | Spring/Autumn | All | 3-4 weeks |
| Silverbeet ('Fordhook Giant') | Year-round | All | 8-10 weeks |
| Spinach (NZ Perpetual) | Winter/Spring | All | 6-8 weeks |
| Broccoli/Kale | Autumn/Winter | Southern best | 10-12 weeks |
| Tomatoes ('Black Beauty' in warm spots) | Summer | Northern/Central | 12 weeks |
Varieties like 'Detroit Dark Red' beetroot or 'Manchester Table' carrots are NZ favourites for their reliability.
Seasonal Planting Guide for NZ Gardeners
Timing is everything in our fickle weather. Use succession planting – sowing small batches every 2-3 weeks – for steady harvests, not gluts.
Spring (Sep-Nov): Awakening the Garden
Warm soils call for roots and peas. Direct sow beetroot, carrots, lettuce, radish, peas ('Sugar Snap'), potatoes ('Agria', 'Rua'). Indoors: tomatoes, capsicums. In warmer North, add kūmara slips.
Summer (Dec-Feb): Peak Harvest
Heat-lovers shine: beans ('Blue Lake'), sweetcorn, courgettes, cucumbers. Plant heat-tolerant lettuce and rocket. Water deeply during dry spells common in Canterbury.
Autumn (Mar-May): Cool Season Prep
Sow broccoli, cabbage, kale, leeks for winter picks. Direct sow broad beans, spinach, turnips. Succession plant radish and lettuce.
Winter (Jun-Aug): Hardy Crops
Don't stop! Plant garlic ('Printanor'), onions ('Pukekohe Longkeeper'), broad beans, mizuna, mustard greens under cover. Seedlings of brassicas thrive in cooler South.
Pro tip: In frosty areas, use frost cloth or cloches. Track your local forecasts via MetService.
Getting Started: Step-by-Step for Beginners
Follow Tui's simple framework: Prepare, Plant, Nourish.
Step 1: Prepare Your Space
Pick a sunny spot (6-8 hours light) sheltered from wind. Test soil pH (aim for 6.0-7.0) with kits from Bunnings or Mitre 10.
- Existing beds: Dig in compost and sheep pellets.
- Raised beds: Layer compost, pellets, vege mix in untreated timber.
- No space? Use pots with vege mix.
Avoid fresh manure for root crops to prevent forking.
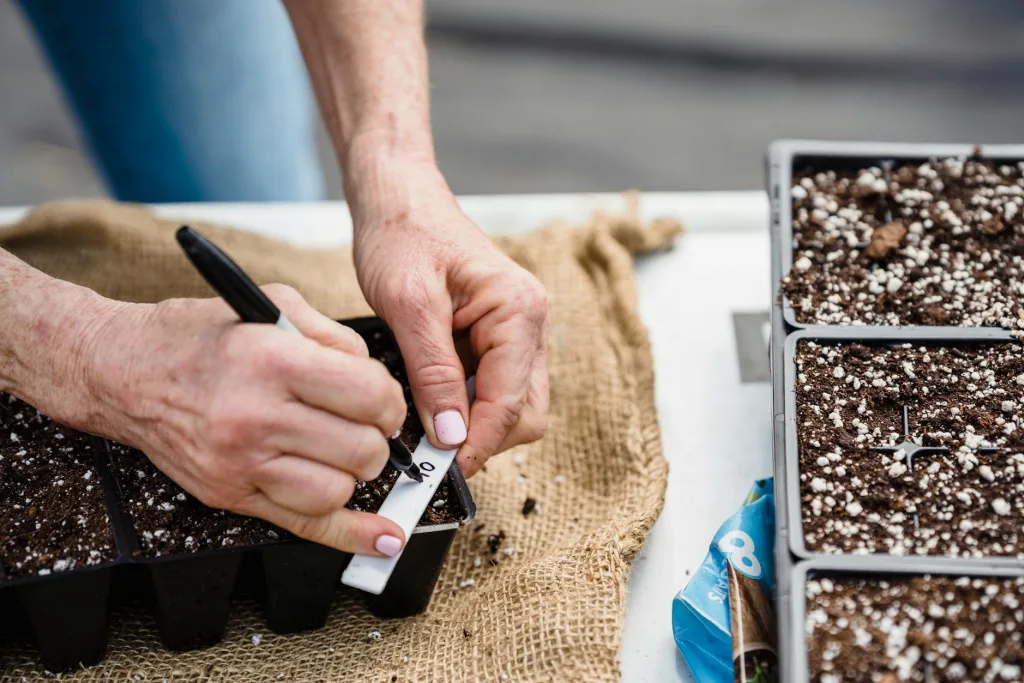
Step 2: Plant Smart
Seedlings are easier for newbies. Plant early morning or evening, water well. Space lettuce etc. two hand-widths apart.
Direct sow carrots/parsnips in stone-free soil. Start seeds indoors in trays with seed-raising mix.
Step 3: Nourish and Maintain
Feed with sheep pellets, NovaTec fertiliser, or seaweed/fish liquid weekly. Mulch to retain moisture and suppress weeds. Water deeply, not daily.
Pest watch: Companion plant basil with tomatoes; use neem for aphids. No harsh chemicals – go organic for kai moana safety.
Small Space Gardening: Balconies and Courtyards
Space-poor? No worries – 80% of Kiwis can grow in pots or vertical gardens. Salad greens, herbs, radish, dwarf beans pack into containers.
- Use smart pots or stacked planters for drainage.
- Vertical: Wall pockets for strawberries, lettuce.
- Hydroponics: Simple kits for indoor herbs.
- Tip: Group thirsty plants like cucumbers together.
In windy Wellington, secure pots and choose compact varieties.
Common Mistakes and How to Avoid Them
New gardeners often overwater, overcrowd, or ignore rotation. Rotate crops yearly to prevent disease. Thin seedlings promptly. In our wet winters, ensure good drainage to dodge root rot.
"The better the soil, the more successful your garden will be." Tui Garden Guide
Frequently Asked Questions
Sources & References
-
1
A Beginner's Guide to Starting a Veggie Garden - Kings Plant Barn — www.kings.co.nz
-
2
Vegetable Gardening for Beginners: A Month-by-Month Guide - Volt and Vine — voltandvine.co.nz
-
3
A Beginner's Guide to Vegetable Gardening - Tui Garden — tuigarden.co.nz
-
4
What to Plant in Your Vegie Patch in Winter - Edible Backyard — ediblebackyard.co.nz
Related Articles

Second-Hand Luxury: The Best NZ Op-Shops and Online Marketplace Tips
I appreciate the detailed request, but I need to flag an important issue: the search results provided don't contain sufficient information to write a comprehensive 1500-word article on this topic, and...

Healthy Eating on a Budget: Using Seasonal NZ Produce
Struggling to eat well without blowing the budget? You're not alone—many Kiwis feel the pinch at the checkout, but there's a simple fix right in our backyard: seasonal New Zealand produce. By choosing...

Best Coffee Shops in Wellington: 2026 Rankings
Wellington's coffee scene is legendary among Kiwis, with wind-whipped streets hiding some of New Zealand's most exceptional brews and cosy nooks. As we hit 2026, these best coffee shops in Wellington...
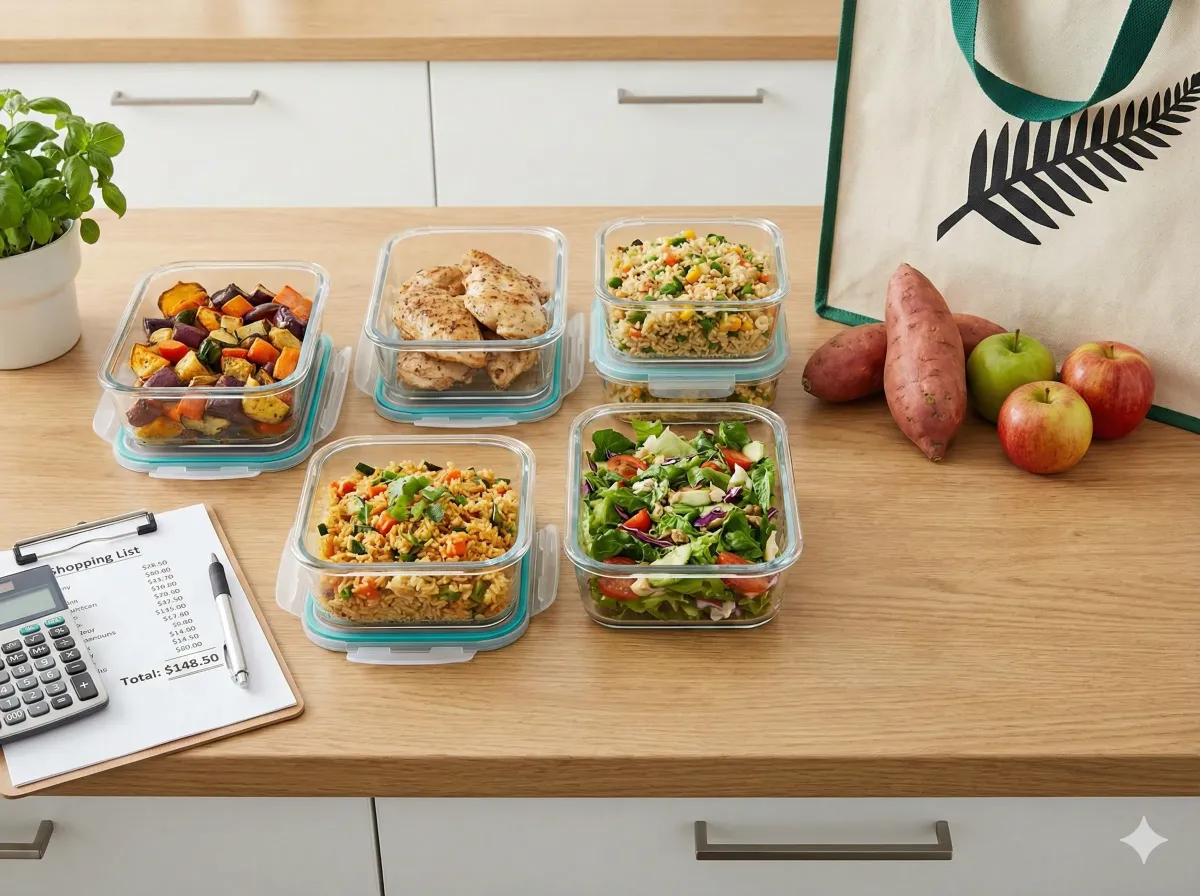
Meal Prepping in NZ: Feed a Family of 4 for Under $150 a Week
Struggling to put nutritious meals on the table without breaking the bank? You're not alone—many Kiwi families are feeling the pinch with rising food costs in 2026. But here's the good news: with smar...