The Ultimate Rental Inspection Checklist for NZ Tenants
Moving into a rental in New Zealand can feel like a big step, but nothing prepares you quite like acing that first property inspection—or preparing for the regular ones that follow. As a tenant, knowi...
The Lifetimes NZ editorial team curates, fact-checks, and updates guides on personal finance, property, health, immigration, legal, business, and lifestyle topics relevant to Lifetimes NZ readers. Articles are produced with AI assistance and reviewed by the editorial team before publication.
Moving into a rental in New Zealand can feel like a big step, but nothing prepares you quite like acing that first property inspection—or preparing for the regular ones that follow. As a tenant, knowing exactly what landlords and property managers check for can save you stress, protect your bond, and keep your tenancy smooth under the Residential Tenancies Act (RTA). This ultimate checklist equips you with practical steps to impress during inspections, spot issues early, and understand your rights in 2026.
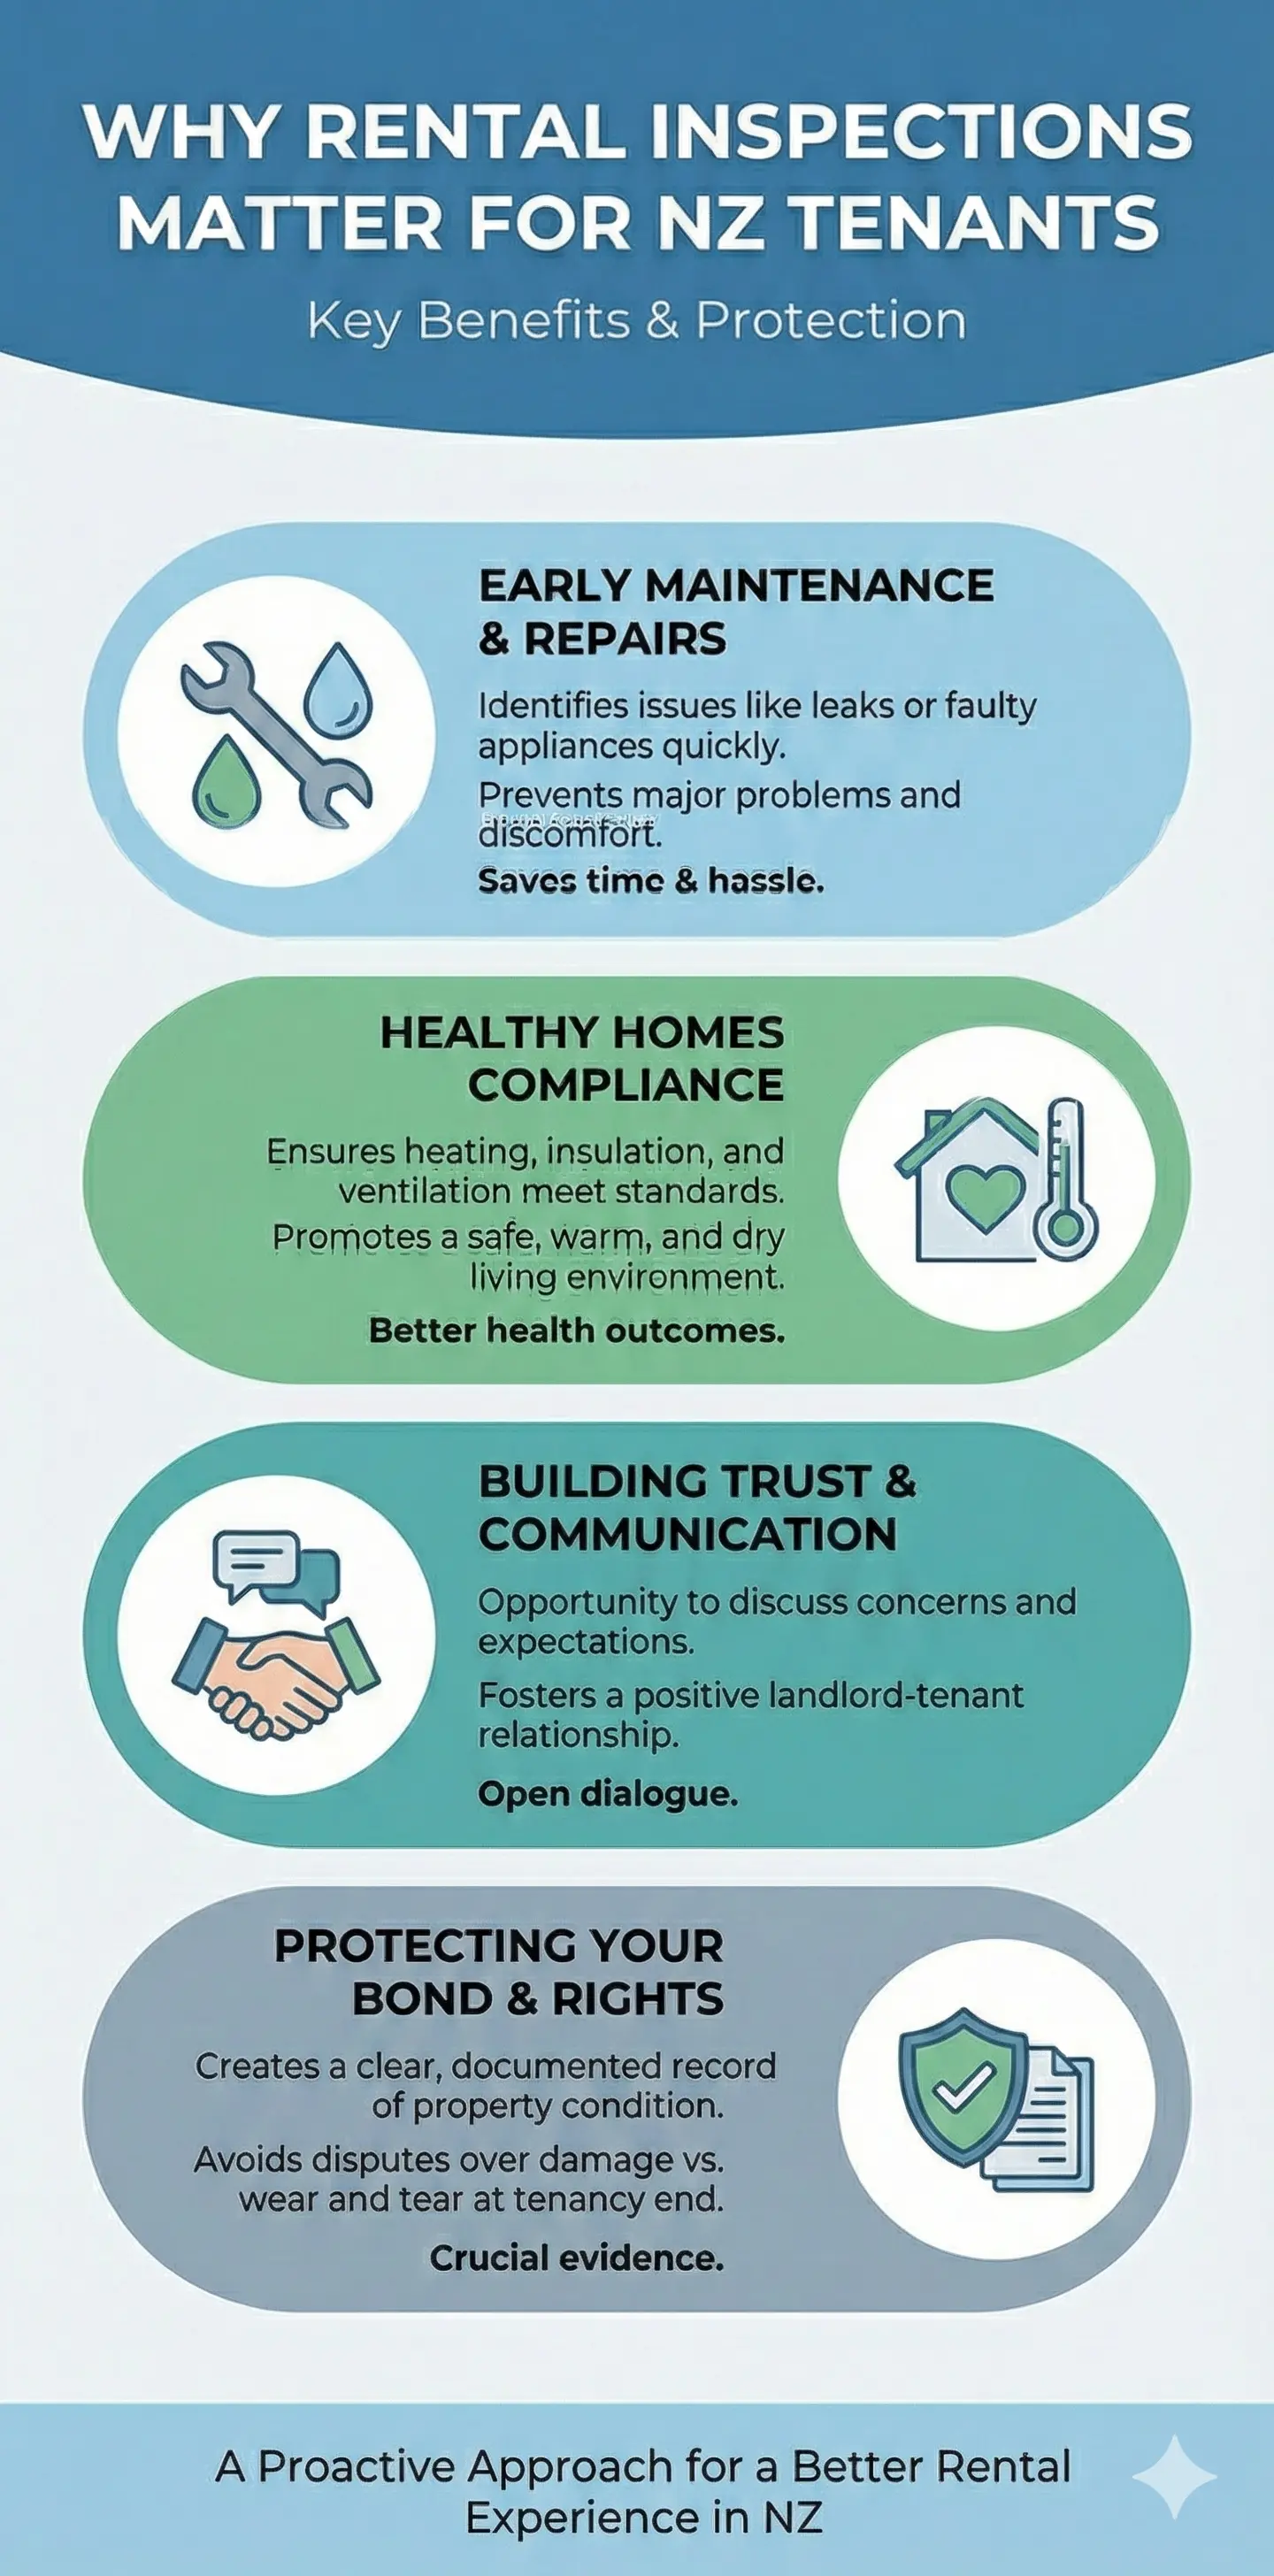
Why Rental Inspections Matter for NZ Tenants
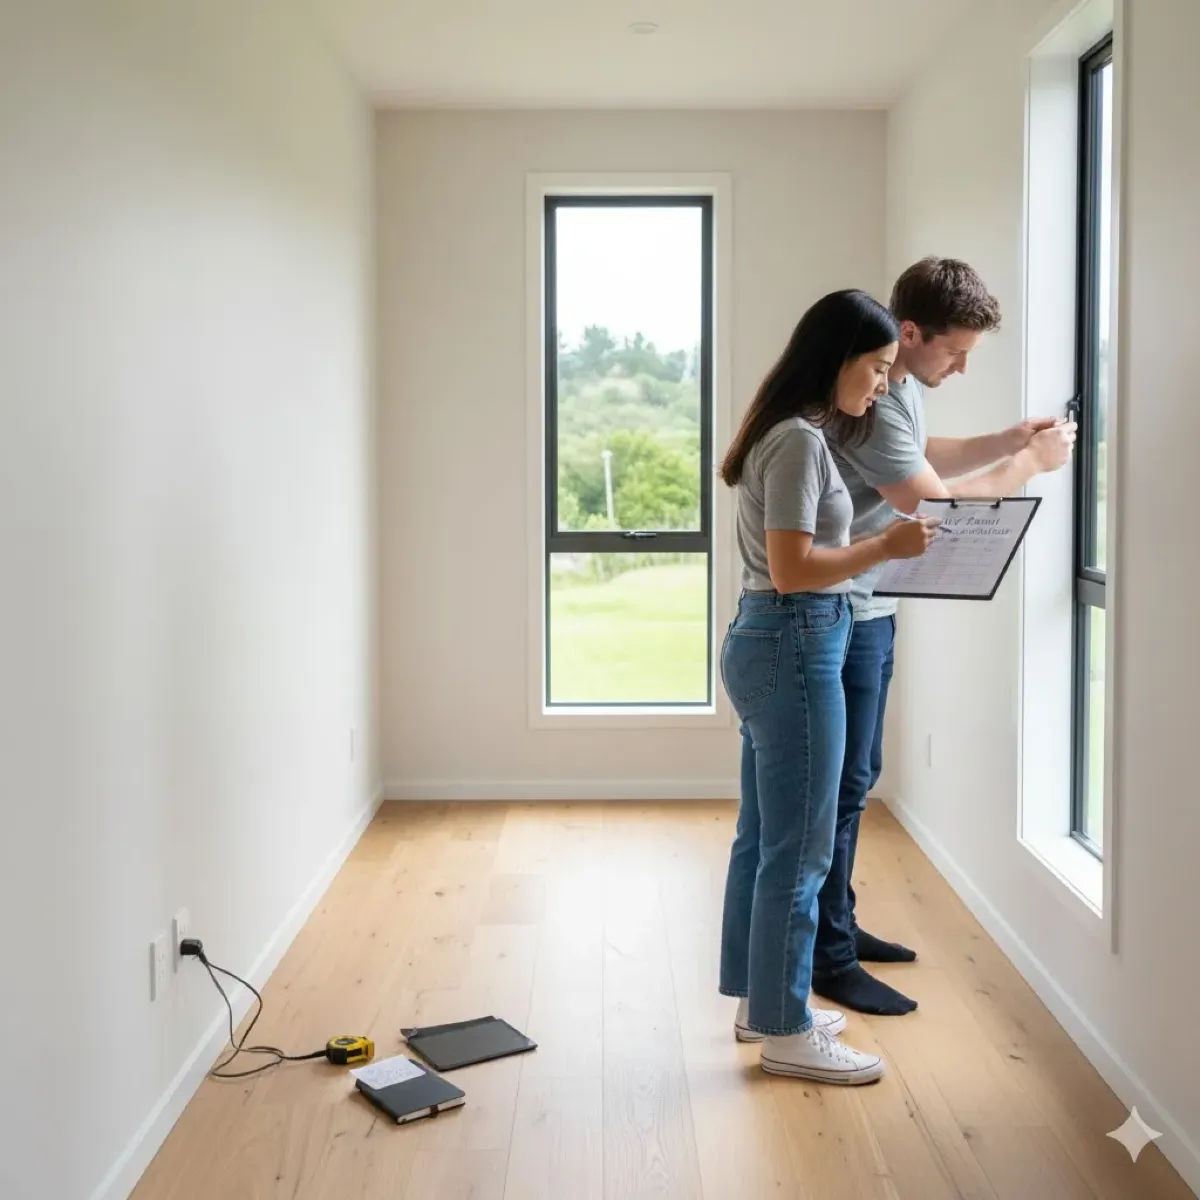
Rental inspections aren't just a landlord's chance to poke around—they're a two-way street. For tenants, they're opportunities to flag maintenance issues, ensure Healthy Homes compliance, and build a positive relationship with your landlord.Regular checks every 3-4 months help catch problems before they escalate, like leaks or faulty smoke alarms, preventing disputes at the end of your tenancy.
Under New Zealand law, landlords must follow strict rules to respect your privacy. Inspections protect both parties: landlords verify the property's condition, while tenants get repairs addressed promptly. In 2026, with Healthy Homes Standards fully enforced, these checks also confirm your home meets ventilation, heating, and insulation requirements for a healthy living space.
Understanding NZ Tenancy Inspection Rules
The RTA sets clear boundaries. Landlords can inspect rental properties between 8am and 7pm, with a maximum frequency of once every four weeks. They must give at least 48 hours' notice, but no more than 14 days in advance—delivered in writing, like email or text, for a record.
Key Legal Rights for Tenants
- You don't have to be home, but request to join if you want. Leave a note highlighting issues for the landlord to check.
- Inspections must be at reasonable times—no harassment or excessive visits.
- If reinspection is needed (e.g., to verify you've fixed something), they still need 48 hours' notice, but no four-week wait.
- Landlords should bring the initial property inspection report (from your tenancy agreement) and take photos—excluding your belongings where possible.
Breaches? Contact Tenancy Services for free advice or mediation. Always keep your own records, including photos, to compare against the start-of-tenancy report.
The Ultimate Rental Inspection Checklist for NZ Tenants
Prep like a pro with this comprehensive checklist, tailored to what property managers actually look for. Tidy up, test items, and note issues beforehand. Use your tenancy agreement's initial report as a baseline.
General Cleanliness and Upkeep
Inspectors start here—first impressions count. A clean, tidy space shows you're upholding your responsibilities.
- Floors and carpets: Vacuum, spot-clean stains, check for damage. Report fair wear and tear vs. tenant damage.
- Walls, ceilings, and paint: Wipe marks, note cracks or mould (tenant must keep aired; landlord fixes causes).
- Windows, doors, and blinds: Ensure they open/close smoothly, no broken glass or frames.
- Lighting and switches: All working, bulbs replaced if tenant-provided.
Safety and Security Checks
Safety is non-negotiable. Working smoke alarms are compulsory—photoelectric, long-life battery, or hard-wired. Test them weekly yourself.
- Smoke alarms: Test and note battery status.
- Door locks, deadbolts, window stays: Functional and secure.
- Electrical outlets, cords: No fraying, safe use of appliances.
- Carbon monoxide alarms (if gas appliances present): Working order.
- Outdoor security: Gates, fences intact, no hazards like loose steps.
Kitchen Essentials
Kitchens see heavy use—focus on hygiene and function to avoid mould or plumbing woes.
- Sinks, taps, dishwasher: No leaks, drains clear.
- Oven, hob, rangehood: Clean, working; ventilation fan operational.
- Cabinets and benchtops: Undamaged, grease-free.
- Fridge/freezer space: Clean behind (if accessible), report faults.
- Meth check if required—baseline from tenancy start.
Bathroom and Laundry
Prevent mould with good ventilation. Healthy Homes mandates effective systems.
- Toilets, shower, bath: Leak-free, clean grout.
- Extractors/vents: Working to control moisture.
- Hot water cylinder: Adequate pressure and temperature.
- Laundry area: Washing machine plumbed correctly, floors dry.
Gardens and Outdoor Areas
Even if low-maintenance, mow lawns and trim edges. Rural rentals? Check stock-proof fencing.
- Lawns/gardens: Mowed, weeded, no overgrowth.
- Fences, decks, paths: Secure, no rot or trip hazards.
- Rubbish: Bins emptied, areas clear—no illegal dumping.
- Gutters and exteriors: Note for landlord maintenance.
Healthy Homes Compliance
By 2026, all rentals must meet these standards. During inspections, verify:
- Heating: Compliant fixed heaters in main rooms.
- Insulation: Ceiling/underfloor as required.
- Ventilation/moisture: No draughts, extractors working.
- Drainage: Effective to avoid dampness.
Pro tip: Document everything with dated photos before and after tidying. Compare to your bond lodgement photos via Tenancy Services.
How to Prepare for Your Rental Inspection
Don't leave it to the last minute. A week out, walk through with this checklist.
Step-by-Step Prep Guide
- Declutter and clean: Deep clean high-traffic areas. Tidy personal items.
- Test everything: Flush toilets, run taps, check alarms.
- Make your list: Note repairs (e.g., "Leaky tap in kitchen") and hand it over.
- Communicate: Confirm time, offer access details if out.
- Post-inspection: Get the report copy, agree on fixes with timelines.
If issues arise, landlords must give reasonable time to remedy tenant faults before reinspection. Engage positively—it leads to better tenancies.
Common Mistakes NZ Tenants Make—and How to Avoid Them
- Ignoring small issues: A loose handle today becomes a dispute tomorrow.
- Poor records: Always photo and date your space.
- Not knowing rights: Review RTA on tenancy.govt.nz.
- Overlooking Healthy Homes: Flag non-compliance early for fixes.
- Rubbish buildup: Weekly bins prevent pest issues.
FAQ: Rental Inspections for NZ Tenants
1. How much notice does a landlord need for an inspection?
At least 48 hours, up to 14 days max. Between 8am-7pm, no more than every 4 weeks.
2. Do I have to let the landlord in if I'm not home?
Yes, it's lawful, but they must give notice. Leave notes on issues.
3. What if the landlord finds faults during the inspection?
They'll give a timeframe to fix tenant responsibilities, then reinspect with notice.
4. Are smoke alarms my responsibility?
Landlords install/maintain; tenants must not disable. Test regularly.
5. What about mould? Who fixes it?
Tenants keep aired and clean surface mould; landlords fix causes like leaks.
6. Can I dispute an inspection report?
Yes, discuss on-site, keep records, or apply for Tenancy Tribunal mediation.
Next Steps for Stress-Free Renting
Download a printable checklist today, snap baseline photos when moving in, and bookmark tenancy.govt.nz for updates. Chat with your landlord openly—healthy relationships mean fewer headaches. If disputes loom, Tenancy Services offers free guidance. Here's to thriving in your Kiwi rental!
Related Articles

Healthy Homes Standards: A Guide for NZ Landlords & Renters
If you're renting or managing a property in Aotearoa, you've probably heard about the Healthy Homes Standards. These legal requirements aren't just bureaucratic boxes to tick—they're designed to ensur...

Renter's Rights in New Zealand: Know Your Protections
Imagine signing a lease only to face unexpected repairs, unfair rent hikes, or eviction threats—that's the reality too many Kiwis have faced. But with the Renters' Rights in New Zealand evolving throu...

Tenancy Law Changes 2025: What Renters Need to Know
If you're renting in New Zealand, the tenancy law changes kicking in from early 2025 could reshape your rights and responsibilities as a tenant. These updates to the Residential Tenancies Act (RTA) br...
Healthy Homes Standards: What Your Rental Must Have
If you're renting out a property in New Zealand or hunting for a healthier home, the Healthy Homes Standards are non-negotiable. These rules ensure every rental is warm, dry, and safe, protecting tena...